
How to Install Solar Garden Lights in Your Yard
Installing outdoor accent lights should be simple and hassle-free. Thanks to easy tool-free installation and no wiring required, setting up your garden stakes takes just a few minutes. Follow these simple steps to ensure optimal placement and maximum illumination.
Step 1: Unpack and Assemble the Light Components
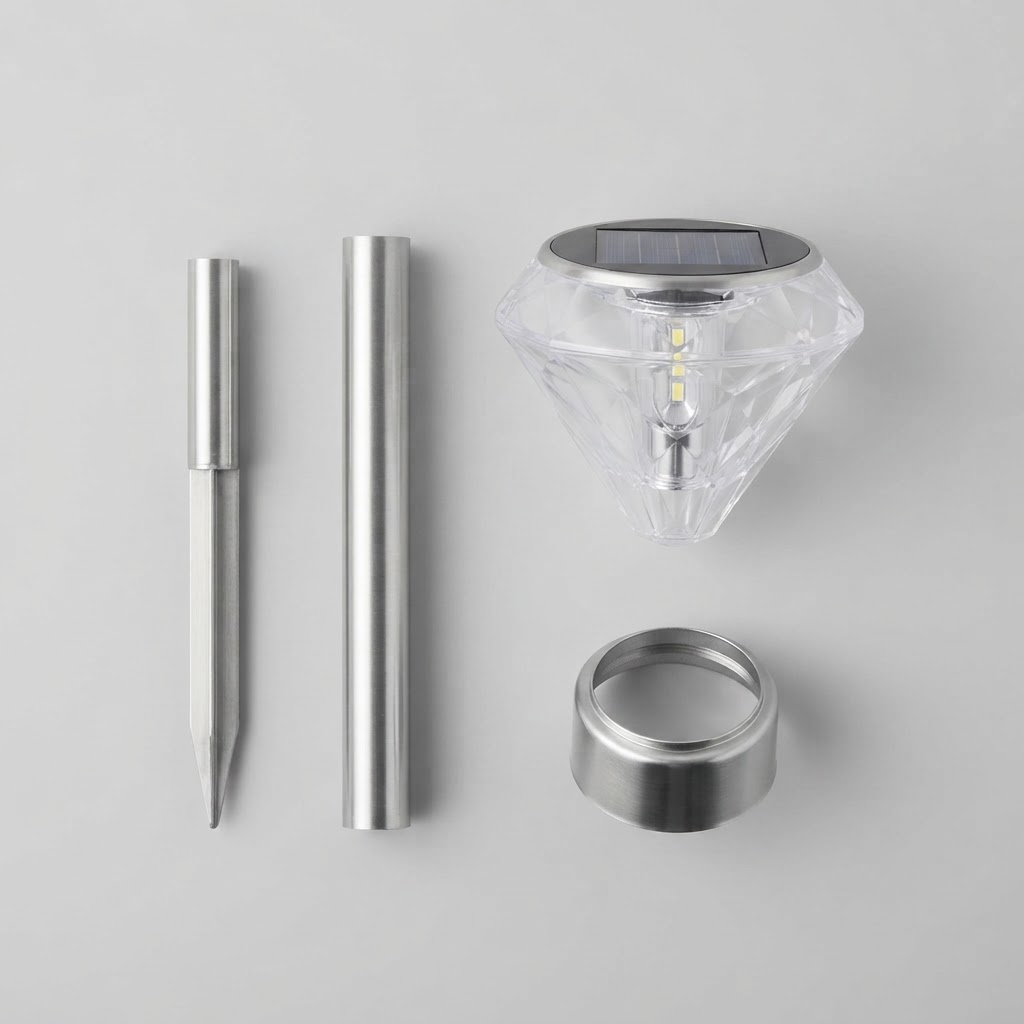
Unbox the fixture components. Connect the acrylic diamond lamp head, stainless steel anti-rust pole, and ground stake together. With a tool-free design and no switch button to turn on manually, the unit is completely self-contained and simple to put together.
Step 2: Select an Optimal Sunlight Location
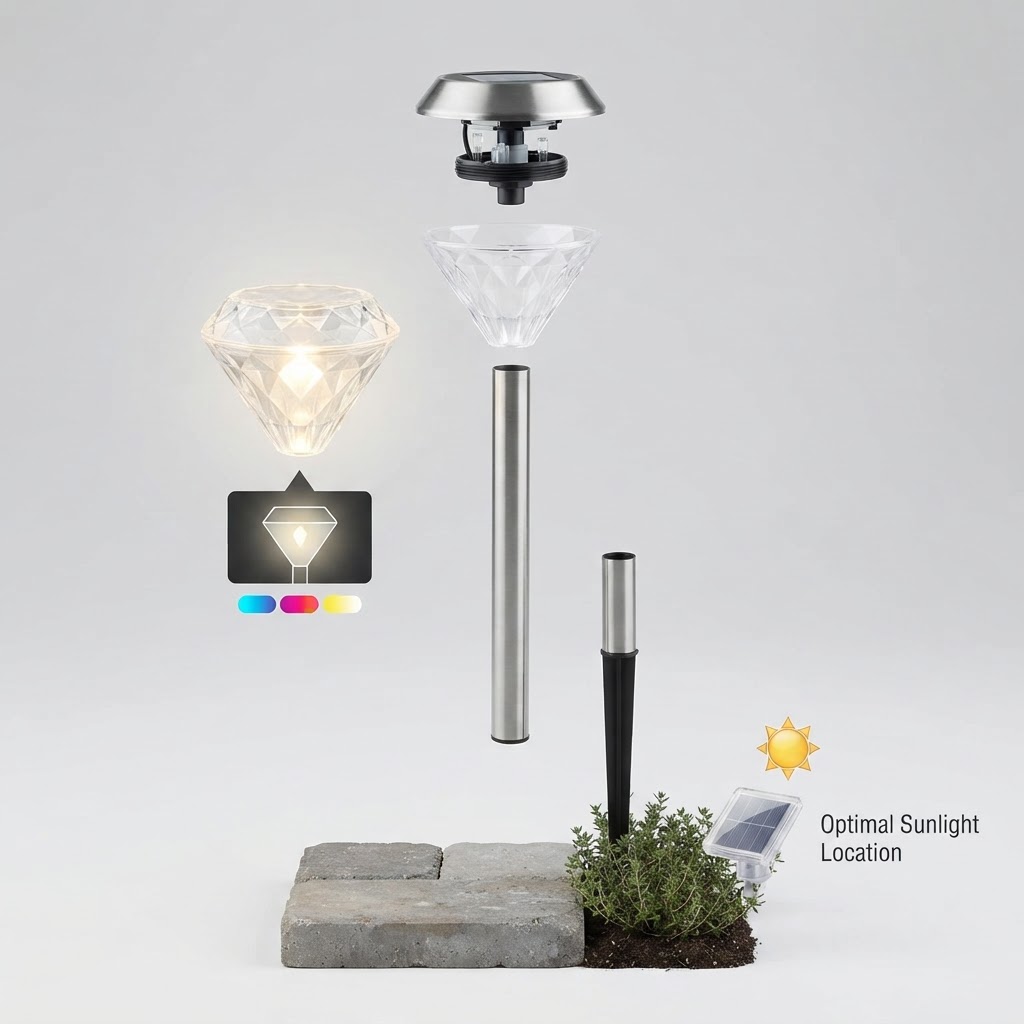
Identify garden borders, pathways, or patio edges that receive full daylight. Place lights where the upgraded polycrystalline solar panel will absorb direct sunlight for 6-8 hours daily to guarantee 8-10 hours of overnight power. As discussed in [the main guide], keep stakes away from streetlights so sensors operate correctly.
Step 3: Insert the Upgraded Stake into Soft Soil
Moisten hard ground with water if necessary. Gently push the upgraded stake vertically into the soil. Built from durable materials tested to withstand aging, the stake will not become brittle, crack, or shrink over time.
Step 4: Allow Initial 6-8 Hour Charge Cycle
Leave the light in place to complete its initial daylight charge cycle. The integrated auto ON/OFF functionality (dusk to dawn) automatically activates the light at night and turns it off at dawn.
Read the full guide: Ultimate Guide to Solar Powered Backyard Lighting Ideas